Water dripping through your ceiling at 2 AM during a storm. No roofer available until morning. The rain won’t stop for hours. Sound familiar?
Knowing how to fix a leaking roof from the inside can save your home from serious damage. This is an emergency action. A temporary solution when you can’t access the roof safely. It buys you time until professional help arrives.
Quick response matters. Every minute water flows freely, it soaks deeper into insulation, drywall, and framing. The damage multiplies fast. Let’s get it under control.
Tools and Materials You’ll Need
Gather these supplies before heading to the attic. You don’t want to climb up and down multiple times.
For safety and access:
- Flashlight or headlamp
- Plywood boards for walking across joists
- Work gloves and a dust mask
For water control:
- Buckets
- Towels or large sponges
- Long nail or screwdriver
For patching:
- Roofing tar or cement
- Putty knife
- Small plywood piece or spare shingle
- Roofing tape or caulk sealant
- Duct tape as backup
Most of these items are in your garage right now. If not, a temporary fix for a leaking roof inside can start with just a bucket and towels while someone runs to the hardware store.
Step 1 — Locate the Leak From Inside
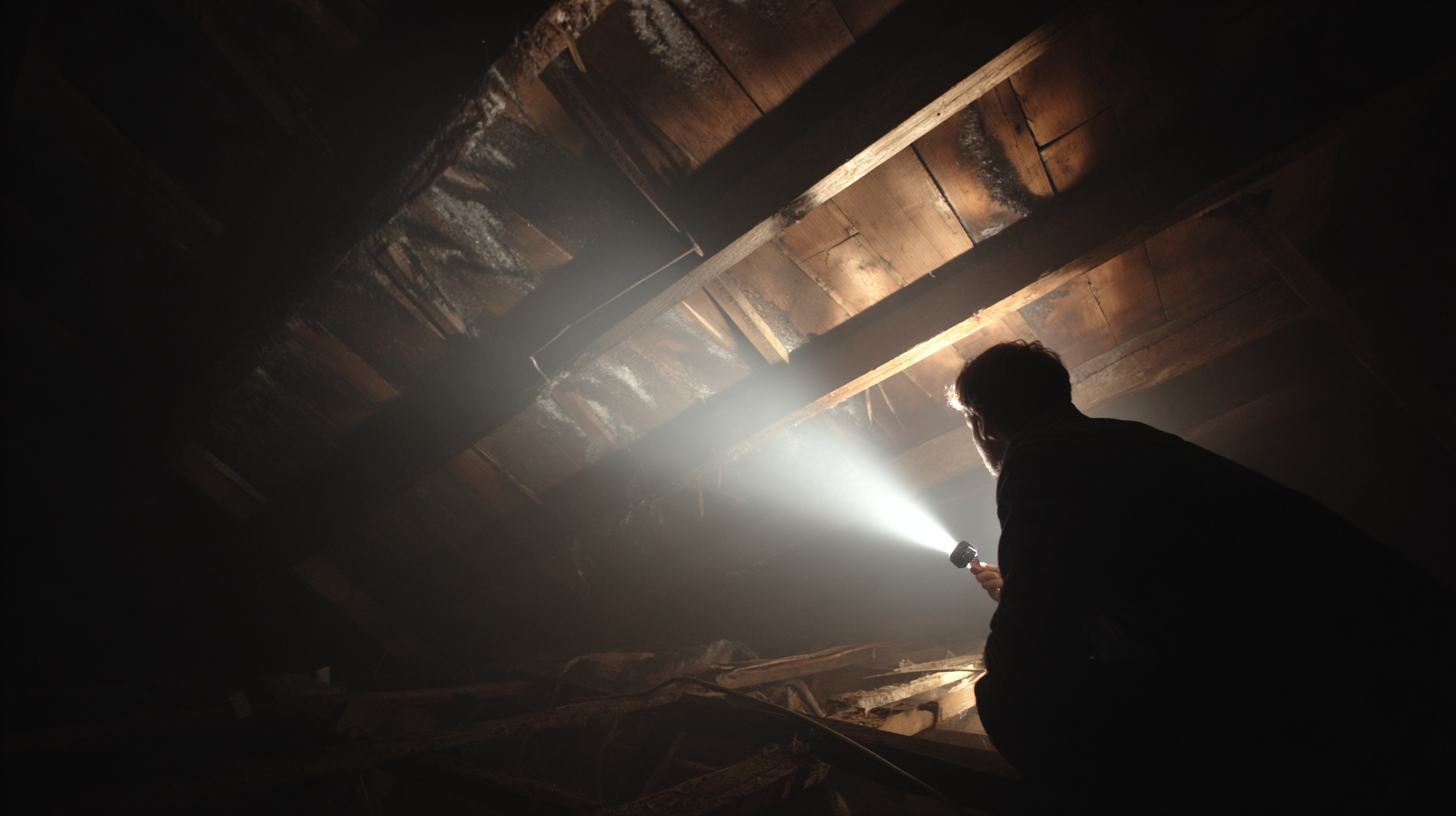
Getting into your attic safely comes first. Use a sturdy ladder. Once up there, step only on ceiling joists or lay plywood across them. Never step on the drywall between joists. You’ll fall right through.
Turn on your flashlight. Let your eyes adjust. Start looking for obvious signs. Water stains on the underside of the roof deck. Wet or discolored insulation. Actual dripping. Dark spots that weren’t there before.
Here’s what frustrates most homeowners: water travels. The spot on your bedroom ceiling might be five or ten feet from where water actually enters. Water runs along rafters, follows electrical wires, and pools on vapor barriers. It takes the path of least resistance.
Trace the moisture trail upward toward the roof deck. Look for the highest wet point. That’s usually closest to your actual leak. Understanding how to stop a roof leak from the inside starts with finding the real entry point, not just where water ends up.
If the weather permits and you have a helper, try the hose test. One person stays in the attic with a flashlight. The other goes on the roof with a garden hose. Start low on the suspected area. Spray water in sections. When the person inside sees dripping, you’ve found your spot.
During active rain, skip the hose test. Just mark the wet areas and move to water control.
Step 2 — Control the Water Flow
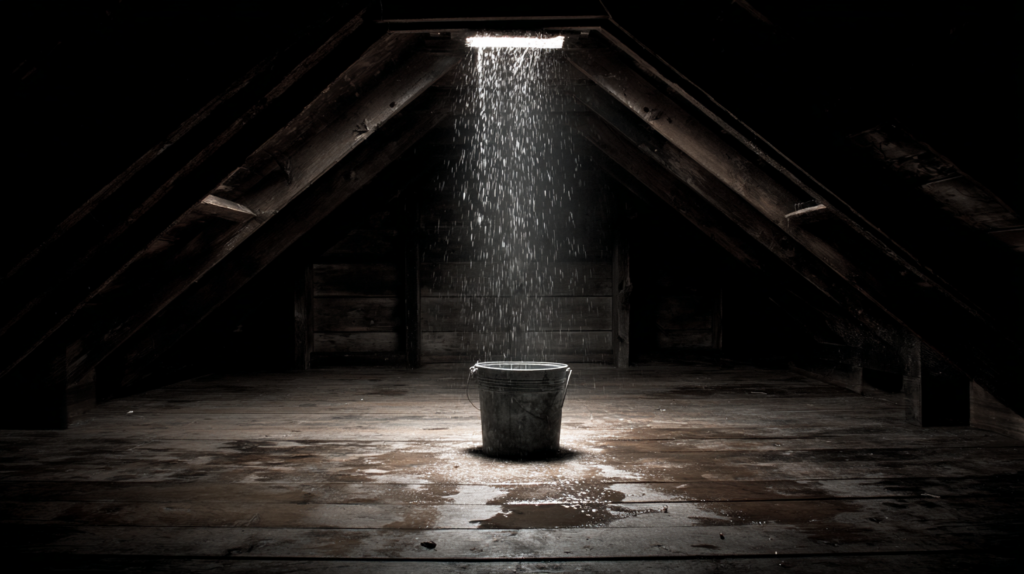
Immediate damage control. Get buckets under every active drip. Lay towels around the buckets to catch splashes. Remove any wet insulation you can reach. Soaked insulation holds moisture against wood and drywall. Mold starts growing within 48 hours.
Now here’s a trick that sounds counterintuitive. If water is pooling on the backside of your ceiling drywall, find the center of the wet area and push a nail or screwdriver through. Create a small hole.
Why would you poke a hole in your own ceiling? Because a controlled drip into a bucket beats an uncontrolled ceiling collapse. Water pooling above the drywall gets heavy. Eventually, the drywall fails completely. You get a sudden flood plus falling debris. A small drain hole prevents catastrophic failure.
Position a bucket directly below. Let water flow where you want it. This simple step to fix a roof leak from inside prevents thousands of dollars in additional drywall damage.
Step 3 — Apply a Temporary Patch
Water control buys you time. A patch buys you more time. But timing matters here.
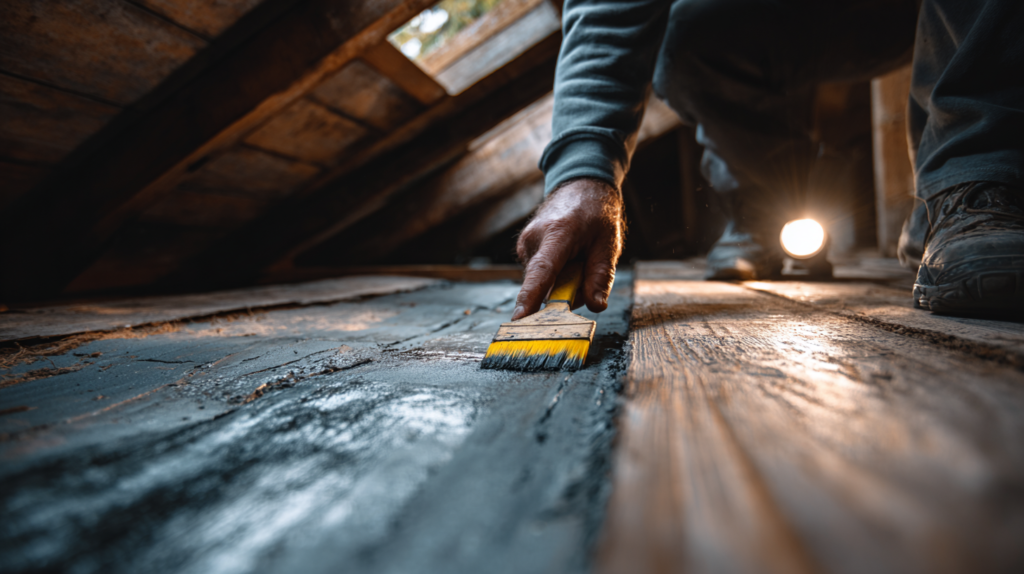
Wait for the area to dry as much as possible. Roofing tar and sealants don’t bond well to wet surfaces. Use towels to absorb surface moisture. A fan helps if you have power in the attic. Even partial drying improves adhesion dramatically.
Apply roofing tar generously over the damaged area with a putty knife. Spread it beyond the visible damage by at least two inches in all directions. Press a piece of plywood or a spare shingle firmly into the tar. Cover the edges with another layer of tar. Seal everything completely.
For smaller cracks or gaps, roofing tape works well. Clean the surface first. Apply tape with firm pressure, smoothing out air bubbles. Add sealant around the edges for extra protection.
This temporary roof leak fix from inside isn’t pretty. It doesn’t need to be. It needs to hold until a professional can make permanent repairs from the outside.
Step 4 — Mark the Location for Permanent Repair
Your patch is holding. Water flows into buckets instead of spreading through your home. Now document everything for the roofer.
Measure the leak location from fixed reference points. Distance from the nearest wall. Distance from a vent pipe or chimney. Height from the attic floor. Write these numbers down. Better yet, take photos with your phone.
Draw a simple diagram showing the leak position relative to landmarks visible from outside. This saves the roofer significant time. They won’t have to search the entire roof for a problem you’ve already located.
Check your patch after a few hours. Is it still dry around the edges? Any new dripping nearby? Sometimes water finds alternative paths when you block the main one. If your patch holds through the next rain, you’ve bought yourself valuable time.
Understanding how to repair a roof leak from inside includes knowing that your work is diagnostic as much as protective. The information you gather helps professionals fix the real problem faster.
When You Can’t Access the Attic
Some homes don’t have accessible attics. Cathedral ceilings. Finished attic spaces. Crawl spaces are too tight for entry. What then?
Work from the living space. Identify where water is coming through the ceiling. Place buckets to catch drips. Spread plastic sheeting on the floor to protect carpets and furniture.
If water is pooling behind the ceiling and the wet spot keeps growing, you face a choice. Let it eventually collapse on its own terms. Or control the release yourself.
The controlled approach works better. Find the lowest point of the bulging or discolored area. Place a bucket directly below. Puncture the ceiling with a screwdriver. Start with a small hole. Make it larger if water flows slowly.
This feels destructive. It is. But the repair roof leak from inside strategy sometimes means accepting small damage to prevent big damage. A collapsed ceiling dumps gallons of water plus heavy, wet drywall onto everything below. A drain hole releases water gradually into a container you control.
Tape plastic sheeting in a funnel shape around the hole. Direct all water into your bucket. Check frequently. Empty before overflow.
Why This Is Only a Temporary Fix
Let’s be absolutely clear. Everything described here is an emergency response. None of it replaces professional roof repair.
Patches applied from inside don’t address the actual problem. Water still enters through damaged shingles, failed flashing, or deteriorated seals. Your patch just redirects it temporarily. The source remains.
Hidden damage continues even with a patch in place. Moisture trapped in insulation breeds mold. Wet wood starts rotting. Structural integrity weakens over time. What looks stable today might be silently deteriorating.
Fixing a roof leak from inside buys you days. Maybe a couple of weeks in ideal conditions. Not months. The patch will eventually fail. Water always wins against temporary measures.
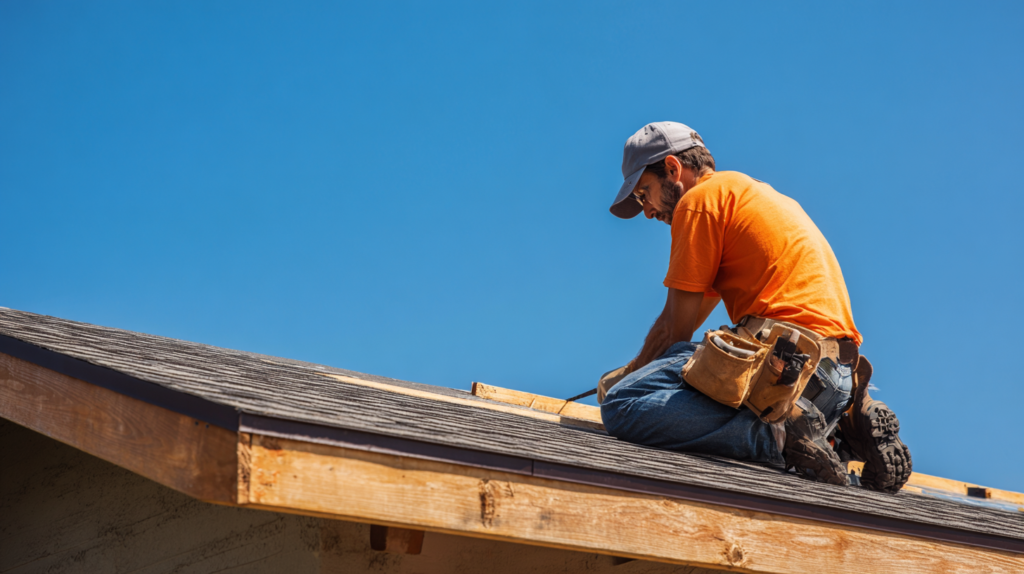
Call a professional roofer as soon as the weather permits safe roof access. Share your documentation. Show them your photos and measurements. Explain what you observed during the leak. This information helps them diagnose and fix the problem efficiently.
Your emergency response prevented immediate damage. That’s a win. Now let the experts deliver a permanent solution that protects your home for years to come. The money spent on professional repair is nothing compared to what water damage costs when temporary fixes finally fail.