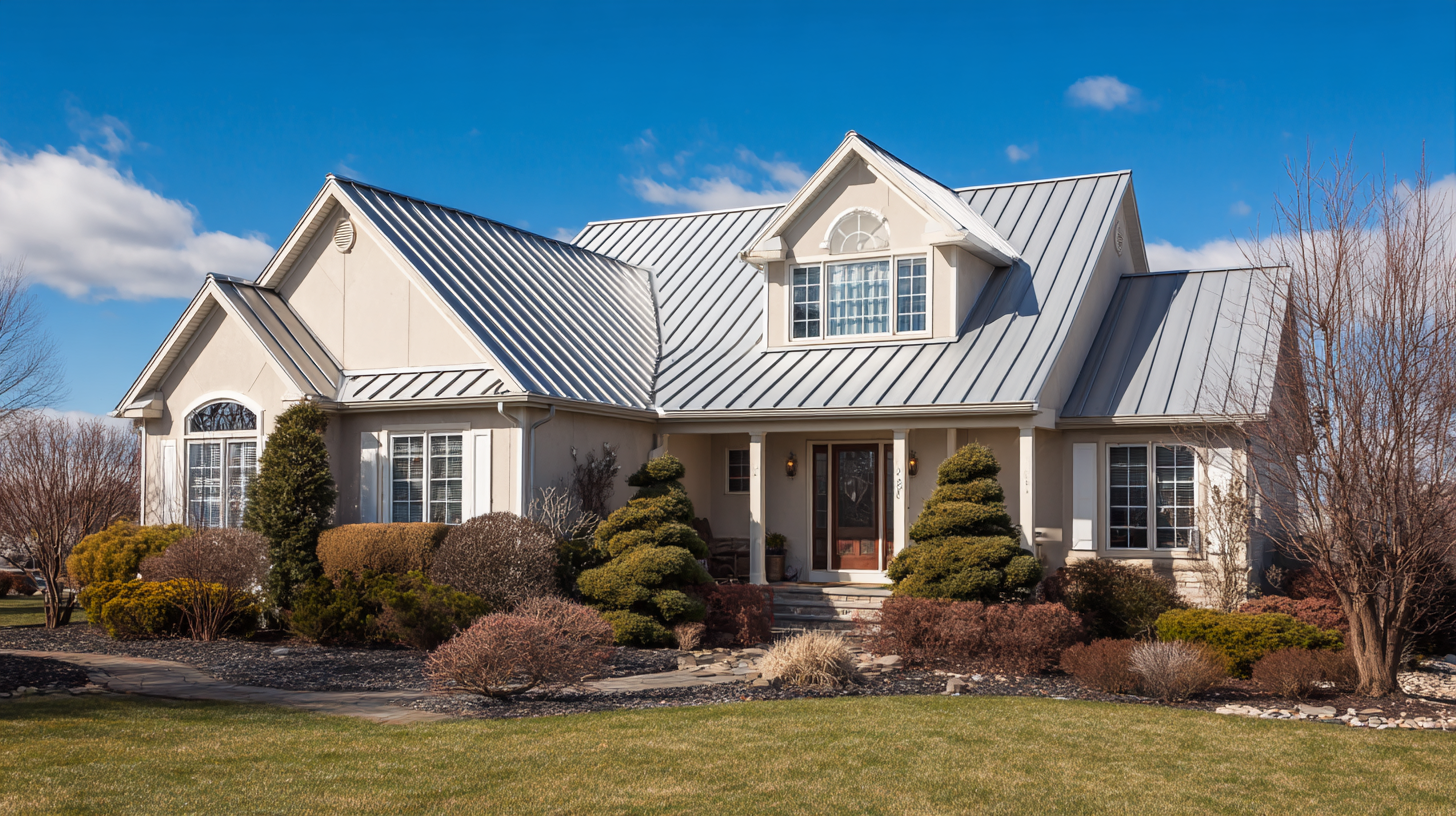
Metal roofs are built to last. With proper care, they protect your home for 40 to 70 years. But even the toughest materials have weak points.
Knowing how to fix a leaking metal roof can save you thousands in emergency repairs. Small problems caught early stay small. Ignored leaks lead to rotted decking, ruined insulation, and mold.
New Jersey’s climate doesn’t make things easier. Our freeze-thaw cycles stress every seam and fastener. Coastal storms bring salt air that accelerates corrosion. Summer heat expands panels, then winter contracts them. Year after year. This guide walks you through finding and fixing common metal roof leaks yourself.
Common Causes of Metal Roof Leaks
Understanding why metal roofs leak helps you find problems faster. Most failures trace back to a handful of culprits.
Loose or failed fasteners top the list. Every screw penetrating your roof relies on a small rubber washer to keep water out. These washers deteriorate over time. UV exposure dries them out. Temperature swings crack them. Eventually, they fail completely. Water follows the screw shaft straight into your home.
Seam and overlap failures come next. Metal panels overlap at joints. Sealant keeps these connections watertight. But sealant ages. It shrinks, cracks, pulls away from the metal. Thermal movement accelerates the process. Once gaps form, water finds its way through.
Damaged or corroded flashing causes headaches for countless homeowners. Flashing protects transitions where the roof meets the wall. Around vents and chimneys. At the valleys. When flashing corrodes or pulls loose, these vulnerable areas become entry points.
Rust and corrosion weaken metal over time. Scratches expose bare steel. Standing water accelerates oxidation. Coastal properties face constant salt exposure. What starts as surface rust eventually becomes a hole.
Improper installation haunts some roofs from day one. Wrong fastener placement. Insufficient overlap. Missing sealant. These shortcuts create problems that show up years later.
Punctures and holes happen. Falling branches. Foot traffic during maintenance. Hail damage. Any breach in the metal surface is a leak waiting to happen.
How to Find a Leak in Your Metal Roof
Finding the actual leak source frustrates most homeowners. Water travels. That stain on your ceiling might be ten feet from where water enters the roof. Patience and systematic inspection pay off.
Start inside your attic. Grab a flashlight and look for obvious signs. Water stains on rafters or decking. Wet insulation. Dark spots indicate mold growth. Daylight peeking through where it shouldn’t. Mark any suspicious areas.
During rain, the attic becomes your best diagnostic tool. Watch where the water appears first. Trace it upward toward its source. The leaking metal roof repair often succeeds or fails based on accurate leak location.
Move to the exterior. Conduct a thorough visual inspection on a dry day. Check every fastener head. Look for lifted or missing screws. Examine rubber washers for cracking or compression. Pay special attention to areas around penetrations.
Inspect all seams and overlaps. Look for gaps, lifted edges, deteriorated sealant. Run your fingers along suspect areas. Sometimes you can feel separation before you see it.
Examine flashing carefully. Around chimneys, vents, skylights, walls. Look for rust, separation, and missing sealant. Flashing failures account for a huge percentage of metal roof leaks.
Scan panels for rust spots, dents, punctures. Even small holes cause big problems. Corrosion often concentrates near the edges where protective coatings wear thin.
The water test helps confirm suspected leak locations. Have someone inside the attic with a flashlight. Use a garden hose on the roof, starting at the lowest suspect area. Work upward systematically. When your helper sees water, you’ve found your entry point.
Remember this critical fact: the source is often not where the stain appears. Water can travel along rafters, underlayment, or the metal panels themselves before finally dripping down. Understanding how to repair metal roof leak issues starts with an accurate diagnosis.
How to Fix a Metal Roof Leak – Step-by-Step Methods
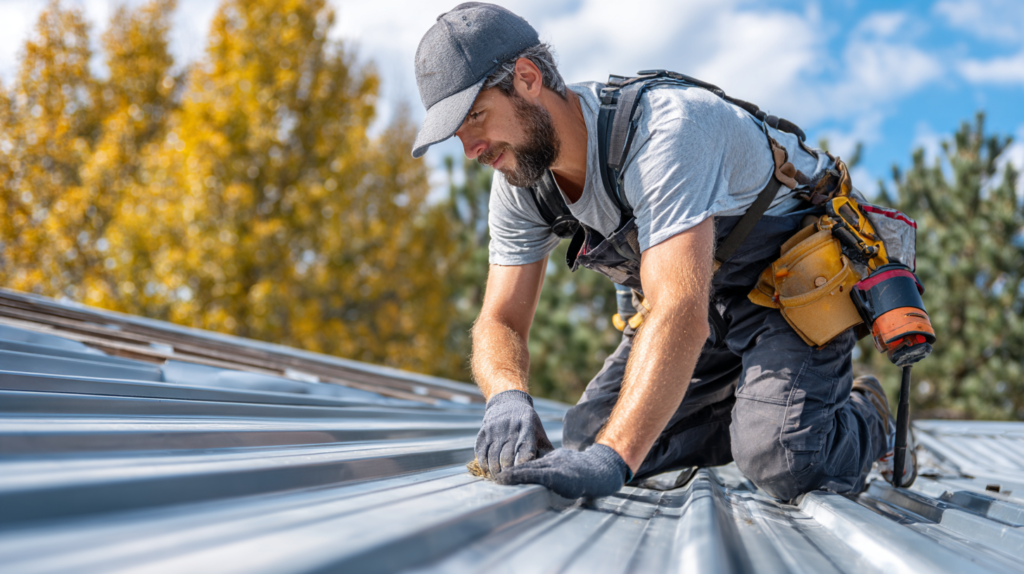
Different problems require different solutions. Match your repair method to the specific issue you’ve identified.
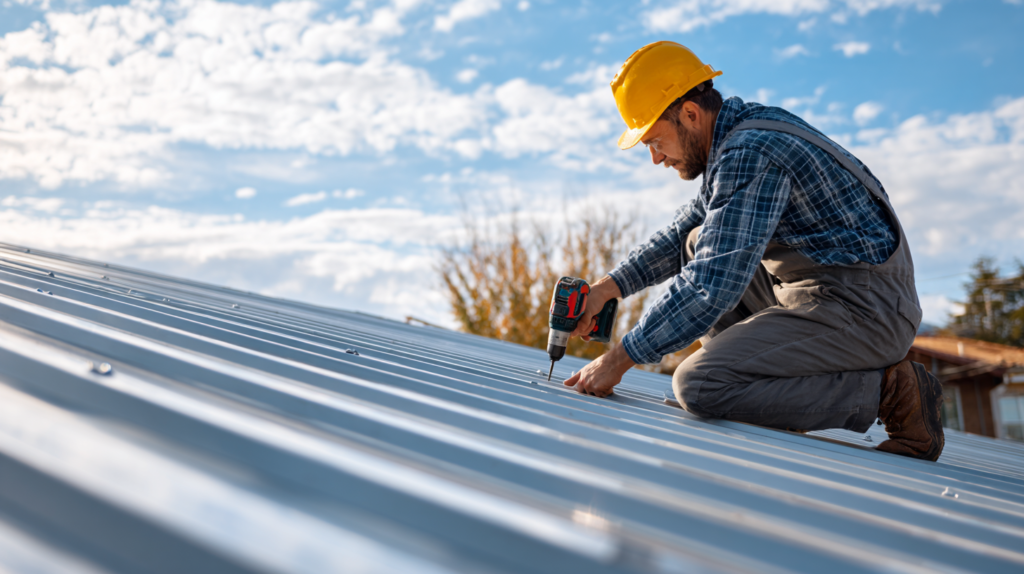
Tighten or Replace Loose Fasteners
Failed fasteners are the easiest fix. You’ll need a drill, replacement screws, and quality sealant.
First, back out the old screw completely. Inspect the hole. If it’s still clean and tight, you might get away with adding sealant and reinstalling the same screw with a new rubber washer.
More often, the hole has enlarged slightly. In that case, apply a generous bead of silicone sealant into the hole. Install a screw one size larger than the original. The bigger diameter creates fresh threads in undamaged metal. Make sure the new washer compresses properly but don’t overtighten. Crushed washers fail quickly.
Seal Cracks and Small Holes
Minor cracks and pinholes respond well to sealant alone. The key is proper surface preparation.
Clean the damaged area thoroughly. Remove dirt, rust, old sealant, and any loose material. Use a wire brush for stubborn corrosion. Wipe with a solvent to remove oils and residue. Metal must be clean and dry for the sealant to bond properly.
Apply a quality sealant designed for metal roofs. Silicone works excellently for most applications. It stays flexible through temperature extremes. Polyurethane offers superior adhesion on challenging surfaces. Polyether sealants combine the best qualities of both.
Apply sealant generously. Feather the edges beyond the damaged area. You want complete coverage with no gaps. Let it cure fully before exposing it to the weather. Most quality sealants need 24 to 48 hours.
For slightly larger cracks, consider reinforcing with polyester mesh fabric. Apply sealant, press fabric into it, then apply another sealant layer over top. This creates a flexible, durable patch that moves with the metal.
Patch Larger Holes
Holes bigger than a quarter inch need more than sealant. They require a proper metal patch. This is where understanding how to repair a metal roof leak correctly makes all the difference.
Cut a patch from matching metal. It should extend at least two inches beyond the hole in all directions. Round the corners to prevent lifting. Clean both the patch and the roof surface thoroughly.
Apply roofing adhesive or butyl tape to the back of the patch. Position it over the hole. Press firmly to ensure full contact. Secure with screws around the perimeter, spacing them every two to three inches.
Seal all edges with silicone sealant. Cover each screw head as well. Water finds the smallest gap. Don’t give it a chance.
For panels with extensive damage, replacement makes more sense than patching. Multiple patches look bad and create more potential failure points. Sometimes removing and replacing the entire panel is the smarter long-term solution.
Repair or Replace Flashing
Flashing failures demand careful attention. These components protect the most vulnerable areas of your roof.
Remove damaged flashing carefully. Note how it was installed. Take photos if needed. You’ll want to replicate the original configuration with new materials.
Clean the underlying surface completely. Remove old sealant, rust, debris. The area must be spotless for the new flashing to bond properly.
Cut new flashing from appropriate material. Aluminum works for most applications. Copper lasts longer but costs more. Match the original material when possible to prevent galvanic corrosion.
Install new flashing with generous sealant underneath. Overlap any existing flashing by at least three inches. Secure with appropriate fasteners. Seal all edges and fastener heads.
Chimney flashing deserves special mention. It involves multiple pieces working together. Step flashing along the sides. Counter flashing embedded in mortar joints. A cricket or saddle on the uphill side. Metal roofing leak repair around chimneys often requires professional skills. Don’t hesitate to call for help if you’re unsure.
Reseal Seams and Overlaps
Panel seams fail gradually. Old sealant shrinks and cracks. Thermal movement opens gaps. Water eventually finds its way through.
Clean the seam thoroughly. Remove all old sealant. Wire brush any corrosion. Wipe with solvent. The metal must be bare and clean.
For tight seams with minimal gaps, apply a bead of quality sealant along the entire length. Silicone or polyurethane both work well. Tool the sealant to ensure full contact with both surfaces.
Gaps larger than one-eighth inch need reinforcement. Apply sealant, press polyester fabric into it, then apply another sealant coat. The fabric bridges the gap while allowing flexibility.
Butyl tape offers an excellent alternative for seam repair. It stays flexible indefinitely. Adheres well to clean metal. Handles thermal movement without cracking. Many professionals prefer it for long seam runs.
Knowing how to fix a leaky metal roof at the seams prevents most water intrusion. These joints are where problems start. Give them the attention they deserve.
Apply Roof Coating (for Widespread Minor Issues)
Sometimes individual repairs aren’t enough. When you’re finding problems everywhere, a roof coating might be the answer.
Elastomeric and silicone coatings create a seamless membrane over your entire roof. They seal minor cracks, protect against UV damage, and add years of life to aging metal.
Preparation is everything. The roof must be completely clean. Pressure washing removes dirt and chalking. Rust needs treatment with a converter or primer. Every seam and fastener should be pre-treated with sealant.
Apply coating according to the manufacturer’s specifications. Most require two coats. Don’t skimp on coverage. Thin coats fail quickly.
Coating makes sense when you have widespread minor deterioration but sound underlying metal. It’s cheaper than replacement. It buys time. But it won’t fix structural problems or major corrosion.
Understanding when to fix metal roof leak issues with coating versus other methods saves money. Coating over seriously damaged metal wastes resources. The problems underneath continue. Eventually, they break through.
When to Call a Professional
DIY repairs work great for minor issues. But some situations demand professional expertise.
Widespread damage across multiple areas suggests systemic problems. You might fix one leak only to have three more appear. A professional can assess the entire roof system and recommend comprehensive solutions.
Structural issues require immediate expert attention. Sagging sections. Rotted decking. Damaged rafters. These problems extend beyond roofing into framing and engineering territory.
Steep pitch or complex roof geometry creates serious safety risks. Falls from roofs cause severe injuries and deaths every year. No repair is worth your life. If you’re uncomfortable on the roof, stay off it.
When the leak source remains unclear after thorough inspection, call for help. Professionals have experience tracing elusive leaks. They’ve seen every failure mode. They know where to look.
Finally, consider your warranty. Many metal roof warranties require professional installation and repair. DIY work might void your coverage. Check your documentation before starting any repair.
Learning how to fix a metal roof leak empowers you to handle common problems. But wisdom means knowing your limits. When in doubt, call a qualified roofing contractor. The money spent on professional repair is nothing compared to the cost of water damage from a failed DIY attempt.